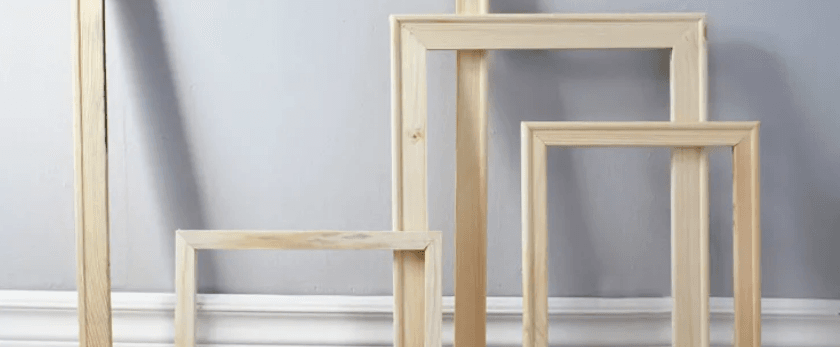
Are you tired of buying plastic or metal photo frames that end up in landfills? Do you want to reduce your carbon footprint and make a positive impact on the environment? Making your own wooden photo frames is a great way to do just that! Not only are they more eco-friendly, but they also add a personal touch to your home decor. In this article, we will guide you through the process of making your own wooden photo frames, from the materials needed to the step-by-step instructions. Let's get started!
Why Plastic and Metal Photo Frames are Bad for the Environment
Plastic and metal photo frames are made from non-renewable resources and contribute to the growing problem of waste in landfills. Plastic frames, in particular, take hundreds of years to decompose, releasing harmful chemicals into the environment. Additionally, the production of plastic and metal frames requires a significant amount of energy and emits greenhouse gases, contributing to climate change. By making your own wooden photo frames, you can reduce your carbon footprint and help create a more sustainable future.
Why Making Your Own Wooden Photo Frames is Better for the Environment
Making your own wooden photo frames is a more eco-friendly option for several reasons. Firstly, wood is a renewable resource, meaning it can be replenished and does not contribute to deforestation. Secondly, the production of wooden frames requires less energy and emits fewer greenhouse gases compared to plastic and metal frames. Lastly, by reusing and repurposing materials, you are reducing waste and promoting a circular economy.
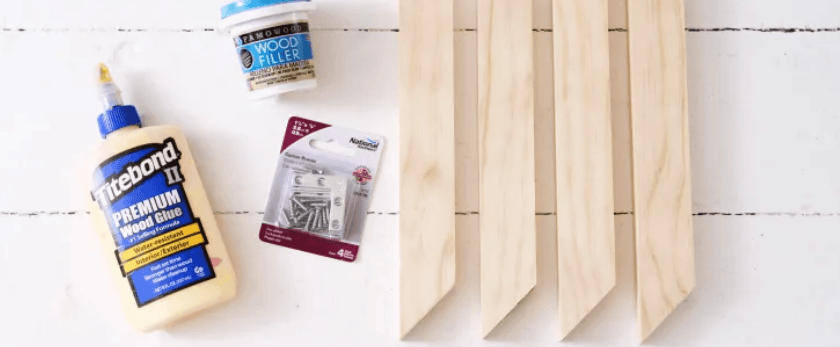
What You Will Need
- Wood: You can use scrap wood, reclaimed wood, or purchase sustainably sourced wood from a local hardware store.
- Saw: A hand saw or a power saw can be used to cut the wood to the desired size.
- Sandpaper: To smooth out any rough edges and create a polished finish.
- Wood glue: To hold the frame together.
- Clamps: To secure the frame while the glue dries.
- Picture hanging hardware: To hang the frame on the wall.
- Optional: Paint, stain, or varnish for a decorative touch.
Directions
Step 1: Measure and Cut the Wood
Measure and mark the wood to the desired size for your photo frame. You can use a ruler or a measuring tape to ensure accuracy. Use a saw to cut the wood along the marked lines. If you are using a power saw, make sure to follow all safety precautions.
Step 2: Sand the Edges
Use sandpaper to smooth out any rough edges and create a polished finish. This step is important to prevent any splinters and to ensure a professional-looking frame.
Step 3: Assemble the Frame
Apply wood glue to the edges of the wood pieces and join them together to form the frame. Use clamps to hold the frame in place while the glue dries. Follow the instructions on the wood glue for the recommended drying time.
Step 4: Add Finishing Touches
Once the glue is dry, you can add a decorative touch to your frame by painting, staining, or varnishing it. This step is optional, but it can add a personal touch to your frame and make it stand out.
Step 5: Attach Picture Hanging Hardware
Attach picture hanging hardware to the back of the frame. This can be in the form of a wire, sawtooth hanger, or D-ring hangers. Make sure to follow the instructions on the hardware for proper installation.
Step 6: Insert Your Photo
Once the frame is complete, you can insert your photo and proudly display it in your home or office. You can also make multiple frames and create a gallery wall for a unique and personalized touch.
Responsible Disposal of Materials
It is important to properly dispose of any leftover materials from your project. If you have any scrap wood, you can repurpose it for other DIY projects or donate it to a local community center or school. If you have any leftover wood glue, make sure to seal it tightly and store it in a cool, dry place for future use. If you have any unused paint, stain, or varnish, consider donating it to a local charity or recycling center. By responsibly disposing of materials, you are reducing waste and promoting a more sustainable lifestyle.
Conclusion
Making your own wooden photo frames is a simple and rewarding DIY project that not only adds a personal touch to your home decor but also helps reduce your carbon footprint. By using sustainable materials and responsible disposal methods, you are making a positive impact on the environment. So why not give it a try and make your own wooden photo frames today? Your wallet and the planet will thank you.
