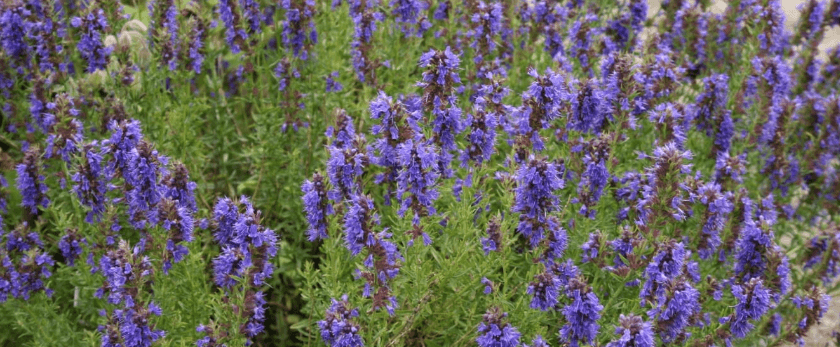
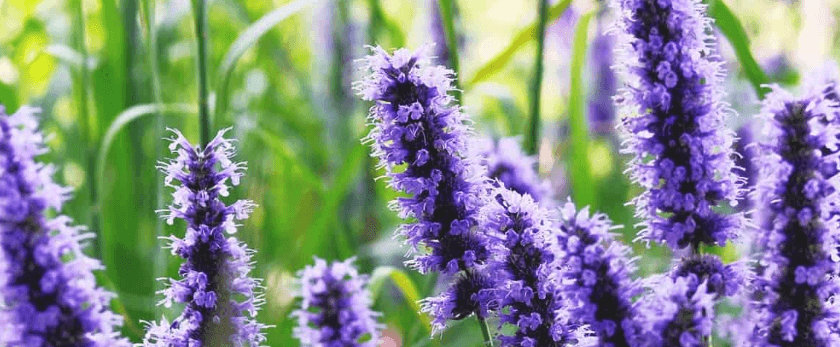
Hyssop is a beautiful and versatile herb that has been used for centuries for its medicinal and culinary properties. It is also a great addition to any garden, as it attracts pollinators and adds a pop of color with its vibrant purple flowers. In this article, we will discuss how to grow hyssop and provide tips for caring for this herb.
Watering
Hyssop is a drought-tolerant plant, meaning it can survive with minimal watering. However, it is important to keep the soil consistently moist, especially during the first few weeks after planting. Once established, hyssop can thrive with occasional watering, especially during hot and dry periods.
When watering hyssop, it is important to avoid getting the leaves wet. This can lead to fungal diseases and damage the plant. Instead, water at the base of the plant, preferably in the morning, to allow the leaves to dry out during the day.
Light
Hyssop thrives in full sun, but it can also tolerate partial shade. If you are growing hyssop indoors, make sure to place it in a sunny window or use grow lights to provide enough light for the plant to thrive.
Soil
Hyssop prefers well-draining soil with a pH level between 6.5 and 7.5. If your soil is too acidic, you can add lime to raise the pH level. If it is too alkaline, you can add sulfur to lower the pH level.
Before planting hyssop, it is recommended to amend the soil with compost or well-rotted manure to provide the plant with essential nutrients. This will also help improve the soil's drainage and water retention.
Fertilizer
Hyssop does not require much fertilizer, but you can add a balanced organic fertilizer in the spring to give it a boost. Avoid using chemical fertilizers, as they can harm beneficial insects and pollinators.
Pruning
Pruning is an essential part of caring for hyssop. It not only helps maintain the plant's shape but also promotes healthy growth and prevents diseases. You can prune hyssop in the spring by cutting back the old growth to about 6 inches from the ground. This will encourage new growth and prevent the plant from becoming woody.
You can also deadhead the flowers throughout the growing season to encourage continuous blooming. In the fall, you can cut back the plant to about 2 inches from the ground to prepare it for winter.
Best Time to Grow Hyssop
Hyssop can be grown year-round in mild climates, but it is best to plant it in the spring after the last frost. This will give the plant enough time to establish itself before the hot summer months. In colder climates, you can start hyssop indoors 6-8 weeks before the last frost and transplant it outside once the weather warms up.
Common Problems with Hyssop
Hyssop is a relatively low-maintenance plant, but it can still face some common problems. Here are a few issues you may encounter when growing hyssop and how to address them:
- Powdery mildew: This fungal disease can affect hyssop, especially in humid conditions. To prevent powdery mildew, make sure to water at the base of the plant and avoid getting the leaves wet. You can also use a fungicide if the problem persists.
- Aphids: These small insects can suck the sap from hyssop leaves, causing them to wilt and turn yellow. You can use insecticidal soap or neem oil to get rid of aphids.
- Root rot: Overwatering or poorly draining soil can lead to root rot in hyssop. To prevent this, make sure to water only when the top inch of soil is dry and improve the soil's drainage by adding compost or well-rotted manure.
- Lack of pollinators: Hyssop relies on pollinators to produce seeds and continue growing. If you notice a lack of pollinators in your garden, you can plant other pollinator-friendly plants nearby or hand-pollinate the flowers using a small brush.
Conclusion
Growing hyssop is a rewarding experience that can add beauty and functionality to your garden. By following these tips for caring for hyssop, you can ensure that your plant thrives and provides you with its many benefits. Remember to always use organic and sustainable methods when growing hyssop, and dispose of any waste responsibly to help create a greener and more eco-friendly world. Happy gardening!
